
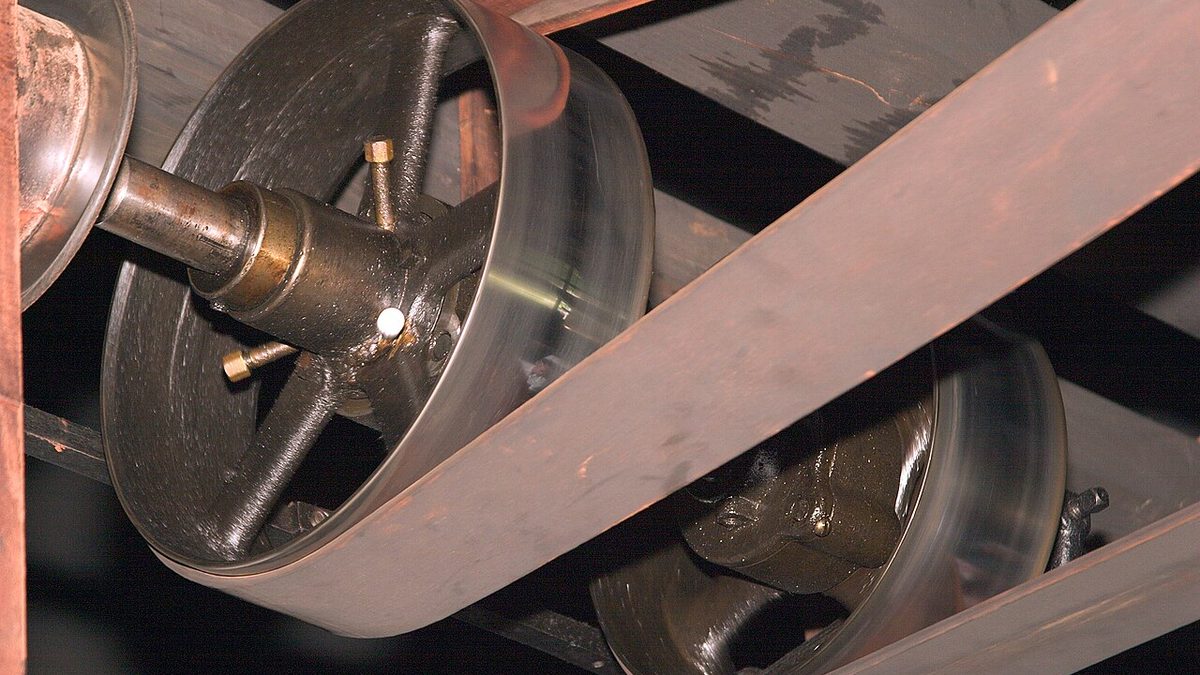
A belt drive is cheap, quiet and easy to maintain. That is exactly why it gets neglected: nobody looks at it until it breaks, and when it does, a new one goes on and that is that. Yet every belt that breaks early tells you something, and most of the time what it tells you is about tension, alignment or pulley wear. In this post we start with belt types and look at how to measure the right tension, when a pulley groove needs replacing, and what the damage marks on a belt mean.
Belt types
In the field you will meet three types most often, and each works differently.
The most important distinction is this: V-belts and poly-V belts work by friction; timing belts work by meshing. With friction belts some slip is normal, and under overload the belt slips and protects the system. A timing belt does not slip; under overload it jumps a tooth and loses synchronisation, which means serious damage to the connected system.
Tension: the most common mistake
Most belt failures come from wrong tension, and the interesting part is this: a loose belt does more damage than a tight one.
Measuring tension by deflection
If you have no tension gauge, the deflection method gives a good enough result. The idea is this: apply a perpendicular force at the middle of the span between the two pulleys and measure how far the belt deflects.
Rule of thumb: about 1.6 mm of deflection for every 100 mm of span.
Target deflection (mm) = span (mm) / 64

Example: 640 mm between pulley centres
       640 / 64 = 10 mm deflection
The force to apply depends on the belt section; for small V-belts a few kilograms-force is enough. To avoid overdoing it with your finger, use this guide: the resistance you feel when you press comfortably with your thumb is about the right range. For precise applications, use a tension gauge or a frequency meter.
A newly fitted belt beds in during its first hours of running and loses some tension. Always check the tension again after 24–48 hours of running. Skipping this step is the most common reason new belts break early.
Pulley alignment
Belts are more forgiving of misalignment than bearings, but not infinitely. There are two kinds of error: the pulleys not being in the same plane (parallel misalignment) and the shafts being at an angle.
The check is simple: hold a straightedge or a taut string against the outer faces of both pulleys. It should touch the front and rear edges of both pulleys, that is, four points at once. If there is a gap at any point, the alignment is off.
As a tolerance, do not exceed 5 in 1000 (about half a degree) of the distance between shaft centres. On a 1000 mm span that means 5 mm. Laser alignment tools exist for belts too and are clearly more precise than the straightedge method.
Pulley wear: the overlooked culprit
You fitted a new belt, set the tension correctly and the alignment is fine, but the belt still wears out early? Look at the pulley. The groove wears and widens over time; in a widened groove the belt sits on the bottom, the wedge effect is lost and the belt starts to slip.
There are two practical ways to check groove wear. The first is to measure with a groove gauge; if there is more than 0.8 mm between the gauge and the groove face, the pulley must be replaced. The second is to look: if a shiny, mirror-like band or a step has formed on the groove face, the wear is advanced.
A new belt fitted without replacing the pulley soon wears the same way, because it does not match the old pulley's profile. A pulley lasts much longer than a belt, but not forever; the general rule is to inspect the pulley as well at the third belt change.
Belt damage marks and their causes
Examine a removed belt before throwing it away; the marks on it carry the information that will decide how long the next belt lasts.
| What you see | Likely cause | What to do |
|---|---|---|
| Side faces shiny, mirror-like | Slipping: tension too low or groove worn | Check tension and groove |
| One side face worn | Pulley misalignment | Check alignment with a straightedge |
| Transverse cracks (base) | Ageing, heat or pulley diameter too small | Replace the belt, check the diameter |
| Belt swollen, softened | Contact with oil or chemicals | Fix the leak, choose an oil-resistant belt |
| Cords sticking out | Foreign object or burr on the pulley | Check the guard and groove |
| Belt turned over / twisted | Misalignment or faulty idler | Check alignment and the idler bearing |
| Timing teeth sheared | Overload or low tension | Review load and tension |
Using matched belt sets
There is a critical rule for drives where several V-belts run side by side: belts are not replaced one at a time but as a matched set.
The reason: a used belt has stretched somewhat. If you fit a new, shorter belt next to it, the new belt carries almost all the load. The new belt is overloaded and breaks early, and the drive does not work at its designed capacity.
Also, belts bought as a set come from the same production batch and have matched lengths. Mixing different brands or batches creates the same load-sharing problem in a milder form.
Safety
The belt and pulley area is one of the places in maintenance where fingers are lost most often. A finger caught between a running belt and the pulley does not come back out.
- Never run the machine without the guard fitted. The guard is not decoration; it also stops the belt flying off if it breaks.
- Before any work, including a tension check, stop the machine and lock out its energy (LOTO). Switching off the panel is not enough; lock it and tag it.
- On motor-driven drives, if the shaft spins freely after stopping, wait until it has stopped completely.
- Do not fit a belt by forcing it over the pulley; that breaks the cord and catches fingers. Shorten the centre distance and slip it on freely.
Quick checklist
- Check groove wear with a gauge before fitting the belt.
- Shorten the centre distance and slip the belt on freely; do not force it.
- Check pulley alignment with a straightedge at four points.
- Set the tension by deflection: span ÷ 64.
- Check the tension again after 24–48 hours of running.
- On multi-belt drives, replace belts as a set.
- Read the marks on the removed belt; do not fit a new one before finding the cause.
- Do not run the machine without refitting the guard.
A belt drive looks simple, but a few numbers decide its life: the right deflection, the right alignment, a sound groove. If those three are right, the belt lasts as long as the catalogue says. If not, the result will not change no matter how many times you replace it.
Frequently asked questions
How do I know belt tension is right?
The most reliable way is the deflection method: apply a set force at mid-span and the deflection should be about 1/64 of the span. Guessing by pressing with a thumb usually leaves the belt too tight or too loose.
Why does a belt squeal?
A loose belt slips and squeals on start-up; worn pulley grooves, misaligned pulleys and oily belts cause the same noise. Check tension first, then alignment and groove wear.
If one belt in a set breaks, is only that one replaced?
No. The old belts have stretched, so a single new belt is shorter and carries most of the load. Replace the whole set with belts from the same matched batch.
Sources
This article is a compilation based on the sources below and personal experience; its assessments are opinions. In practice, the manufacturer's official documentation and applicable regulations take precedence.
- ISO 4184 — Belt drives: Classical and narrow V-belts, lengths in datum system
- Gates — Heavy Duty V-Belt Drive Design Manual
Calculator: V-belt length calculator calculates belt length and wrap angle from pulley diameters and centre distance.
Comment
No comments yet. Be the first to comment!
Leave a comment